The NVIDIA Jetson TK1 with Caffe on MNIST
Sunday June 14, 2015
Let's do deep learning for image classification on a GPU!
Go!
The Jetson is a pretty remarkable little machine. And NVIDIA prices it at just $192: one dollar per core on the GPU. But there is a little work involved in getting a Jetson set up. Steps described here:
- Flash the Jetson to most recent OS (L4T 21.3)
- Install the Caffe deep learning framework
- Train a classic convolutional net on MNIST
Without extra hardware, the easiest way to start working with the Jetson is to plug it in directly to your router with an ethernet cable. Then you can ssh in to tegra-ubuntu on the local network, using the default username and password (both ubuntu):
ssh [email protected]1. Flash the Jetson to the most recent OS (L4T 21.3)
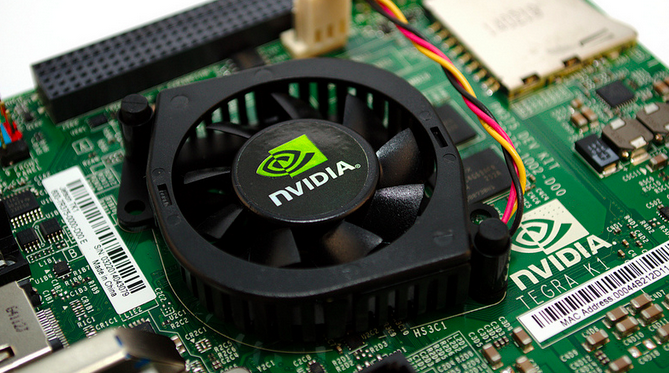
The GPU on the Jetson is a Tegra K1. The Jetson I received came preinstalled with an early version of the "Linux for Tegra" (L4T) Ubuntu-based operating system. Step one is updating to the most recent version (currently 21.3).
I flashed with the Jetson TK1 Development Pack. Two things about the “JetPack”:
- You can only run the JetPack on 64-bit Ubuntu 12.04 and 14.04. I used 14.04.
- The JetPack is about 12 gigabytes in size, so make sure you have enough space on your machine or any virtual machine you plan to use.
I'm running a Mac over here, so I used VirtualBox (4.3.28, plus the extension pack) to install a virtual Ubuntu Desktop 14.04.2 LTS from ISO. I hadn't created a VirtualBox image this way before; it's pretty cool! You can tell VirtualBox that the ISO is in a virtual DVD drive, and boot from it. An NVIDIA Developer Zone post was very helpful in figuring all this out. Takes me back to the days when you had to burn an ISO to a physical CD...
It took me a couple tries to get everything right; to get it all done in one pass you would want to connect the Jetson via USB and start it in recovery mode now, then adjust the VirtualBox settings so that there's a “USB Device Filter” for the “NVIDIA Corp. APX [0101]” device accessible, before even installing the VM.
There was one headache in getting the Ubuntu desktop to display at reasonable resolutions. The display resolution started at 640 by 480, with no apparent way to change it. Thanks to Jonathan Davis for suggesting a solution that worked for me:
sudo apt-get remove libcheese-gtk23
sudo apt-get install xserver-xorg-core
sudo apt-get install -f virtualbox-guest-x11
Reboot and get full-screen majesty!
In Ubuntu then I was able to install the JetPack. This whole process takes at least enough time to eat some Thai food.
After flashing, I cleaned out the old record from ~/.ssh/known_hosts and was able to log in to a shiny new “Linux for Tegra” 21.3 install!
ssh [email protected]At the end of the JetPack process, you need to enter the IP address of your Jetson. You can use ifconfig (as directed) on the Jetson to get the right IP address.
The JetPack process continues then and includes installing more things on the Jetson, including cuda-toolkit-6-5. Nice!
The JetPack also includes OpenCV, but doesn't seem to install it on the Jetson automatically. So move this file onto the Jetson yourself:
JetPackTK1-1.1/jetpack_download/libopencv4tegra-repo_l4t-r21_2.4.10.1_armhf.debOn the Jetson then, install it something like the following. The package itself contains three other packages which have to be installed, and which have a couple dependencies that will need to be resolved first:
sudo dpkg -i libopencv4tegra-repo_l4t-r21_2.4.10.1_armhf.deb
sudo apt-get install libavcodec54 libavformat54 libavutil52 libswscale2
sudo dpkg -i /var/opencv4tegra-repo/libopencv4tegra_2.4.10.1_armhf.deb
sudo dpkg -i /var/opencv4tegra-repo/libopencv4tegra-dev_2.4.10.1_armhf.deb
sudo dpkg -i /var/opencv4tegra-repo/libopencv4tegra-python_2.4.10.1_armhf.deb
If you're a “CUDA Registered Developer” (they have to manually approve applications?) now might be a good time to install cuDNN R1.
2. Install the Caffe deep learning framework.
Pete Warden's post on setting up Caffe on the Jetson isn't all perfectly applicable after you've flashed to L4T 21.3, but I very much appreciated his translation of the Caffe install dependencies into Ubuntu package names:
sudo apt-get install \
    libprotobuf-dev protobuf-compiler gfortran \
    libboost-dev cmake libleveldb-dev libsnappy-dev \
    libboost-thread-dev libboost-system-dev \
    libatlas-base-dev libhdf5-serial-dev libgflags-dev \
    libgoogle-glog-dev liblmdb-dev gcc-4.7 g++-4.7
The GCC 4.7 vs. 4.8 issues are resolved now I think, so the last two items there could probably be skipped.
Warden also advised some manual tweaks to $PATH and $LD_LIBRARY_PATH, but these are taken care of already by the install process. You may still need to source ~/.bashrc, depending on when you last logged in.
To get Python integration compiled you need numpy:
sudo apt-get install python-numpyIt looks like it's best to install Caffe from the master branch of the GitHub repository. (The dev branch hasn't been updated in three months.)
sudo apt-get install git
git clone https://github.com/BVLC/caffe.git
cd caffe
cp Makefile.config.example Makefile.config
Unfortunately master has a really large value for LMDB_MAP_SIZE in src/caffe/util/db.cpp, which confuses our little 32-bit ARM processor on the Jetson, eventually leading to Caffe tests failing with errors like MDB_MAP_FULL: Environment mapsize limit reached. Caffe GitHub issue #1861 has some discussion about this and maybe it will be fixed eventually, but for the moment if you manually adjust the value from 1099511627776 to 536870912, you'll be able to run all the Caffe tests successfully. I'm still having problems actually applying the relevant code paths, but at least the tests pass.
make -j 4 all
make -j 4 test
make -j 4 runtest
Then you can run the following command with a pre-built model and see that you get pretty nice prediction speed!
run build/tools/caffe time --model=models/bvlc_alexnet/deploy.prototxt --gpu=03. Train a classic convolutional net on MNIST
At this point you can use Caffe for whatever, including all the great tutorials! For example, there's the MNIST tutorial.
Since Caffe's LMDB support still isn't working right on my Jetson install, I had to switch the tutorial example to use LevelDB. This isn't too hard; just change BACKEND="lmdb" to BACKEND="leveldb" in examples/mnist/create_mnist.sh and then in examples/mnist/lenet_train_test.prototxt change both directories ending in lmdb to end in leveldb and both LMDBs to LEVELDBs.
Aside from that the tutorial is perfect! (Well, test accuracy gets up to 99.03%, anyway.)
There's a ton more to work with and think about, even just within the Caffe examples. And Caffe is just one of the available frameworks! What about Torch? What about CUDA ConvNet? But for now...
Deep learning: Done!